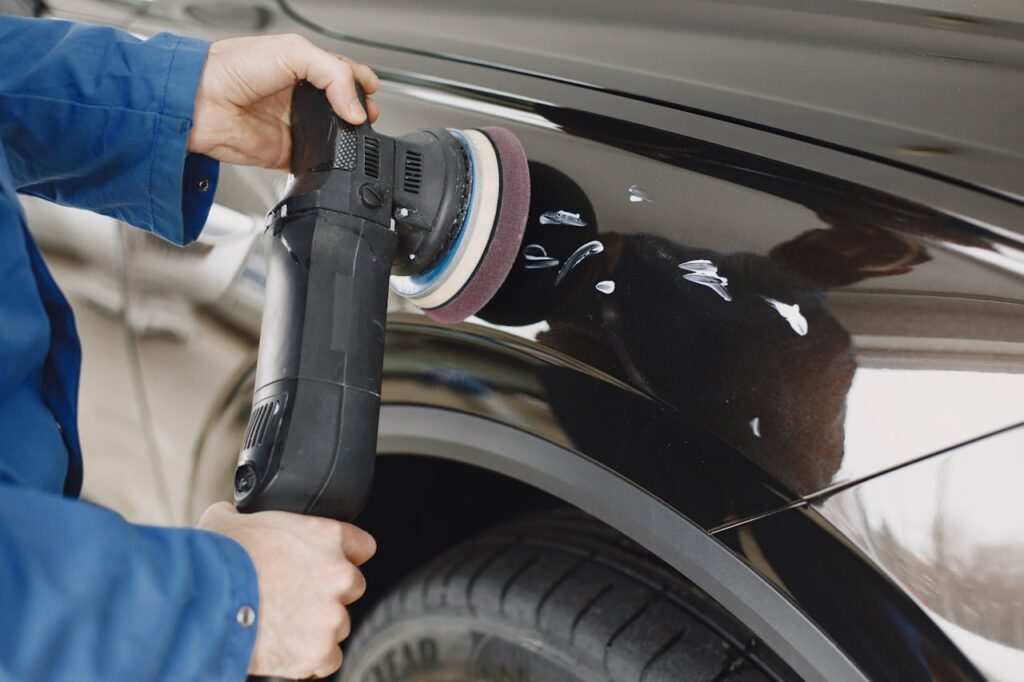
What is Paint Correction and How Does It Work?
Paint correction is a detailing process that removes imperfections like swirl marks, oxidation, and scratches from a car’s clear coat. It involves carefully polishing the surface to restore a flawless, deep-gloss finish.
Unlike waxing, which only hides defects, paint correction permanently eliminates them by leveling the clear coat. This process requires specialized compounds, polishes, and polishing machines to refine and restore the paintwork.
Signs Your Car Needs Paint Correction
- Swirl marks and micro-scratches from improper washing.
- Dull, faded paint that lacks depth and clarity.
- Water spots and bird dropping etching that don’t wash off.
- Holograms or buffer trails from previous poor polishing.
I once thought my car’s paint was in great condition, but under direct sunlight, swirl marks covered the entire surface. Paint correction completely transformed its look.
Paint Correction vs. Waxing vs. Ceramic Coating
| Feature | Paint Correction | Waxing | Ceramic Coating |
|---|---|---|---|
| Removes scratches & swirls | ✅ Yes | ❌ No | ❌ No |
| Protects against UV & dirt | ❌ No | ✅ Yes | ✅ Yes |
| Lasts for years | ✅ Yes | ❌ No (weeks) | ✅ Yes |
Paint correction must be done before applying a ceramic coating to ensure a flawless finish.
DIY vs. Professional Paint Correction: Which One is Best?
DIY Paint Correction
✅ Affordable ($50-$200 in products)
✅ Works for light swirl marks
✅ Requires time, patience, and the right tools
Professional Auto paint refinement
✅ Achieves perfect results
✅ Removes deep scratches and oxidation
✅ Costs $300-$1,500, but long-lasting
I first attempted DIY paint correction, and while it improved the surface, I struggled with deeper scratches. A professional detailer later perfected the finish.
Step-by-Step Guide to Buffing and polishing
Step 1: Wash & Decontaminate
- Use a pH-neutral car shampoo and microfiber mitt.
- Apply a clay bar to remove embedded contaminants.
Step 2: Paint Inspection
- Check for swirl marks, scratches, and oxidation under direct light.
- Identify the level of correction needed (one-stage, two-stage, or three-stage).
Step 3: Polishing & Buffing
- Start with a dual-action polisher for even results.
- Use cutting compound for heavy defects, then finishing polish for clarity.
Step 4: Protecting the Finish
- Apply ceramic coating, sealant, or wax to preserve results.
The first time I did paint correction, I skipped using a finishing polish, and my car looked hazy under sunlight. Fixing this mistake made a huge difference.
Best Products for Clear coat correction
🔹 Compounds & Polishes: Meguiar’s, Menzerna, Griot’s Garage
🔹 Polishers: Rupes, Porter Cable, Flex
🔹 Paint Protection: Gtechniq, CarPro, Turtle Wax Seal N Shine
After testing different brands, Menzerna polishes and a Rupes polisher gave me the deepest gloss and clarity.
FAQs About Paint leveling
How long does Gloss restoration last?
- 1 to 5 years, depending on maintenance.
Can Swirl mark removal remove deep scratches?
- It depends—if you can feel the scratch with your fingernail, it may need repainting.
Does Paint polishing thin the clear coat?
- Yes, but minimally—if done correctly, it removes microns of clear coat.
What’s the difference between one-stage, two-stage, and three-stage correction?
- One-stage: Light polish for minor swirls.
- Two-stage: Cutting compound + polish for moderate defects.
- Three-stage: Multi-step process for heavy correction.
How do I maintain Paint enhancement results?
- Wash with two-bucket method to prevent swirls.
- Apply a ceramic coating or sealant.
- Use pH-neutral car soaps.
After correcting my car’s paint, I couldn’t believe the transformation. It looked brand new, and even months later, it still had that deep, mirror-like shine.

